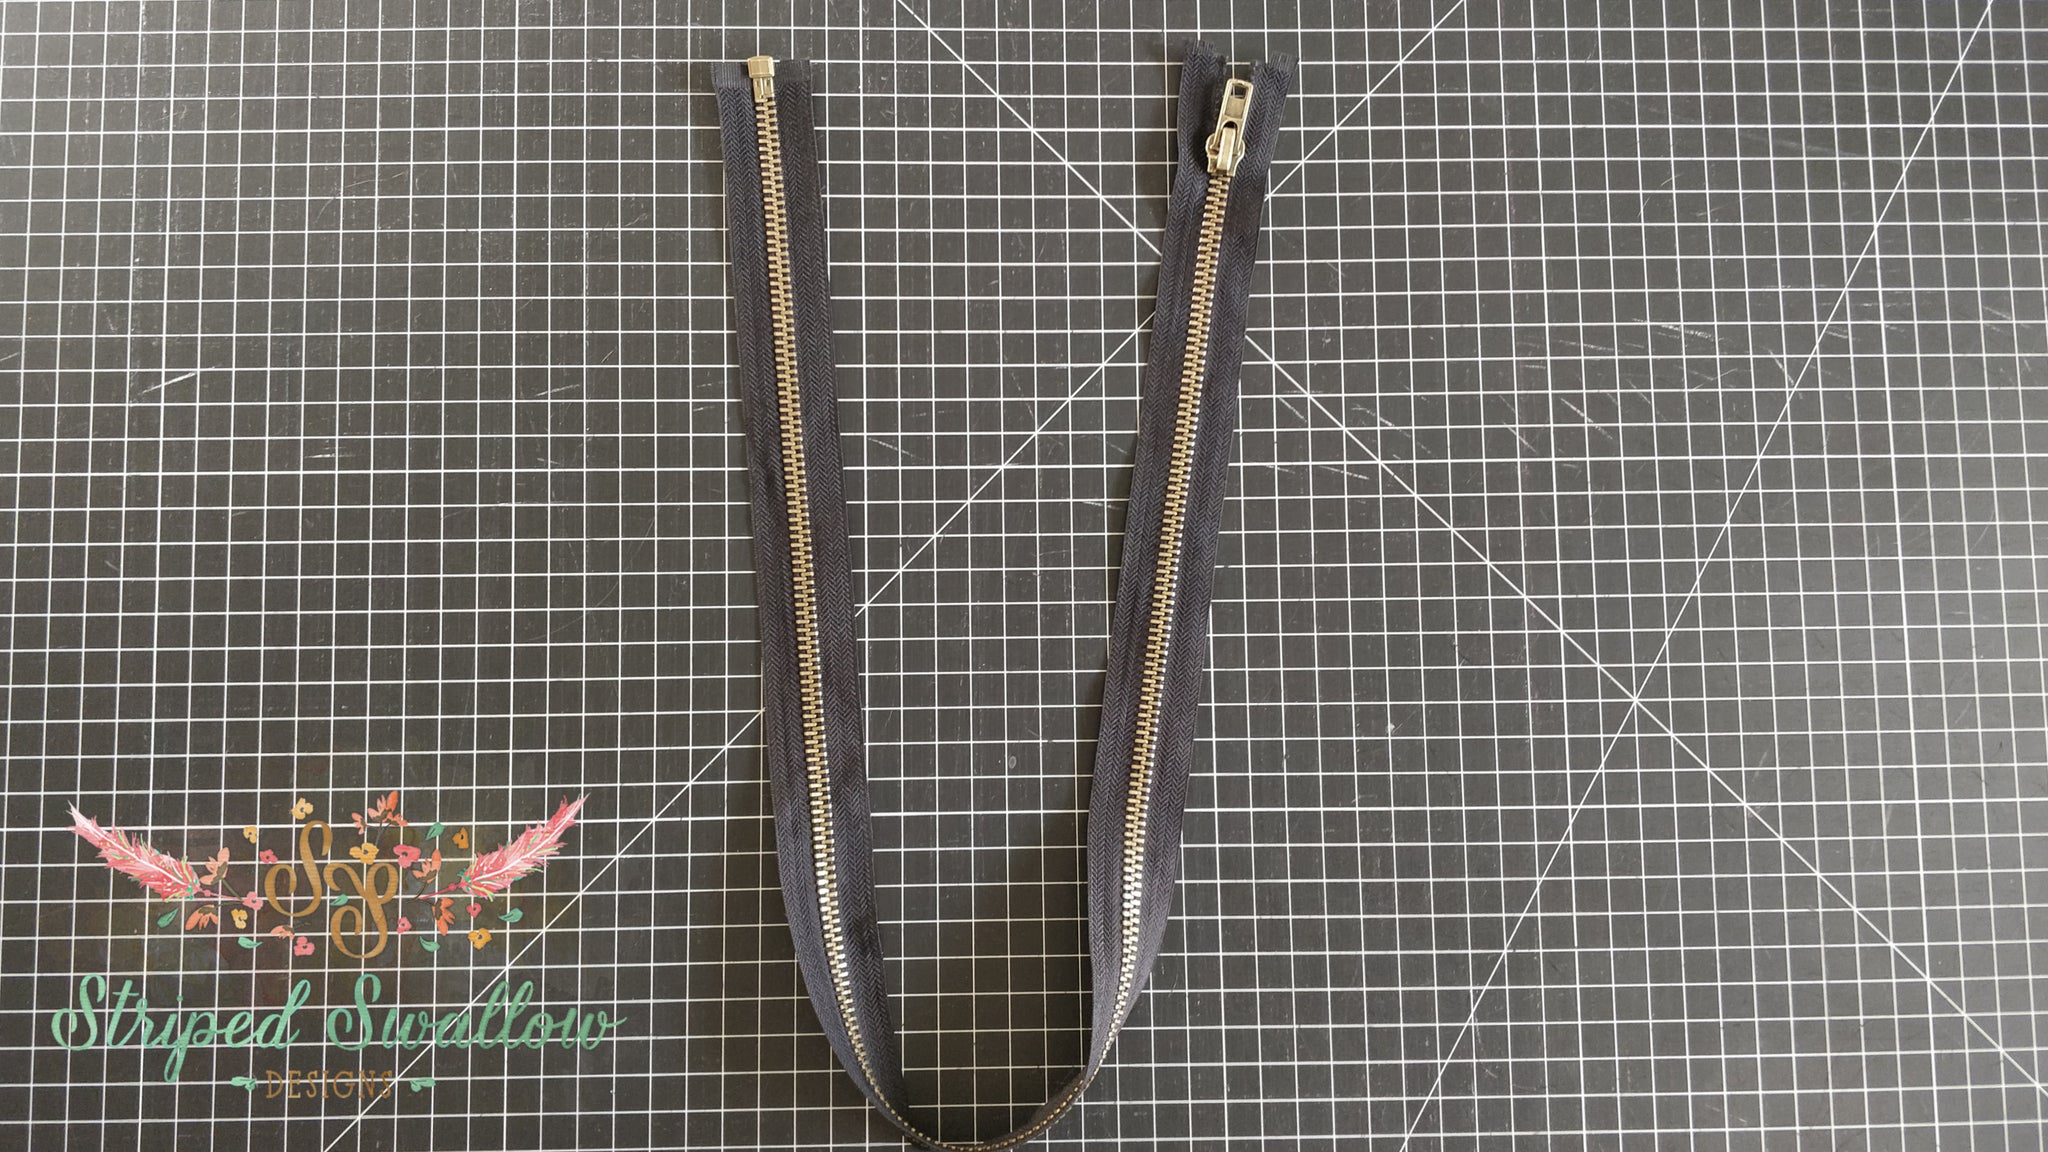
When I started designing the After the Rain and shopping around for separating zippers I was shocked at how limited the selection was. I found a lot of zippers that were too short or way too long! Not to worry, I am going to walk you through customizing your zipper for the length you need.

What is a separating zipper? A separating zipper is a zipper that can be opened at the end. Most often these zippers are used for coats, jackets, hoodies and occasionally dresses. I ordered this 32" zipper from Amazon.
Supplies Needed:
- Separating Zipper
- Straight Edge Ruler and/or Measuring Tape
- Needle Nose Pliers
- Pen/Marker

I will be shortening my 32" zipper down to 29" for my After the Rain. Measure the zipper from the bottom up to the desired length.

With a straight edge ruler mark the new zipper length on both sides of the zipper tape. 
Here you can see the white marks on my tape.

Grab the needle nose pliers (mine are very well loved ha).

Starting one to two teeth above your mark, pinch one tooth with the pliers and pull. This can take some serious arm and hand strength depending on your zipper.

Continue pulling teeth until you have removed about 1 1/2" worth.
To finish off the top of your zipper you have a few choices;
- Finish off by placing a few hand stitches above the top tooth
- Use a sewing machine to CAREFULLY sew a few zig zag stitches about the top tooth.
- Purchase a set of zipper stops like this one here and put a new zipper stop on.

Repeat steps 1-4

Note: I find it easier to grab the teeth with the base of my pliers for the plastic teeth.

Continue pulling teeth until you have removed about 1 1/2" worth. Choose a method listed above to finish off the top of your new zipper.
You are ready to install your zipper in an After the Rain or another one of your favorite patterns!
I hope you enjoyed this tutorial and I can't wait to see your After the Rain hoodies. Be sure to join our Facebook Group and share!
Happy Sewing,
Ashley
Comments will be approved before showing up.


